|
May 2005 - June 2005
Following the help getting the head installed
on the motor, I wrapped up installation of the timing chain covers,
rear main seal, oil pan, and other misc items. If you notice
in the pictures, I forgot to install the alternator bracket so the
harmonic balancer will have to come off again to get that in place.
Around this time the rear Bilstein sports and Alpina rear springs
were put in. I held off on the rear camber plates for now but I
have them still to put in later.
After I got the long block finished, I
borrowed an engine hoist from my good friend Bob Smith (see his Jag
under the Friends Cars section of this site). Once I had the hoist,
I was anxious to get the engine back in the car. I mounted the flywheel
using the recommended torque for the flywheel bolts (AND threadlock).
I also mounted the water pump and the bracket used for attaching
the hoist to the motor in the front so I was ready to go. I borrowed
a pilot bearing puller from Alex Lipowich who lives in the Chicago
burbs and I know through a BMW friend (Alex has an E36 M3 LTW racecar
and an E34 M5). Using the puller and Alex's slide hammer, I easily
got the old pilot bearing out and put the new Sachs one in.
The lift wasn't bad, but getting the motor to line
with the rubber engine mounts was a challenge. It took a lot of
swearing and sweating but it finally slid in where it should have.
I used a cardboard box between the motor and firewall to protect
the aluminum flywheel.
The engine hoist happened a week before the
awful, 2005 US Grand Prix Formula One FARCE (my dedication to F1
has been seriously undermined after 6 straight years of attendance
at Indy). My friend Al Denovan from firstfives was coming from Australia
to visit in Chicago and go to the F1 race with me. Al also owns
an E12 M535i, except his is RHD. Al and I did some E12 bonding
when he came and he helped me get the transmission in. First I
carefully mounted the pressure plate and disc to the aluminum
flywheel, being very careful with torque so not to go above 20 lb/ft
and rip out the helicoils. Once that was done (I had to buy the
clutch alignment tool to get the disc centered), we used a jack to
get the tranny into position. This was a big pain since it would not slide all
the way in due to motor and tranny misalignment preventing the input
shaft from popping into the center of the pilot bearing. After
45 minutes to an hour of hard work, shifting of things, and retries,
it slid in.
|
Finished long block #1
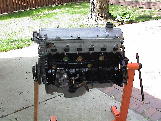
Finished long block #2
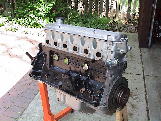
Jet-Hot coated exhaust manifolds
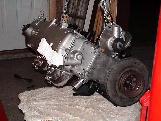
Mounted flywheel
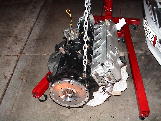
Engine install #1
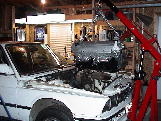
Engine install #2
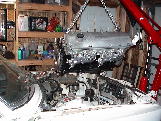
The engine is back home.
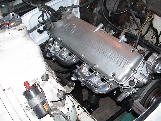
|
|
July 2005
Now that the motor and tranny are in, it's time to finish all
the other misc items and there are a lot of them. I have put in the
shift linkage in, driveshaft, and exhaust. The exhaust was a bear of course
but better with both ends of the car lifted up in the air (with jack stands of
course as a safety fallback) to get under there. All exhaust hangars were replaced
with brand new items. Many items and hardware now are getting replaced with new.
Some of the bellhousing bolts were in bad shape so new ones were put in. The
tiny nuts that hold the intake manifold to the head are new. If you notice
the intake manifold is super clean, that's because it was cleaned by the
machine shop and not sand blasted as some other parts were. So with a clean
manifold, it would look terrible to use the same hardware, and the new nuts
are so cheap. I've been using Patrick BMW in Schaumburg's parts department
who have been very patient and helpful. Most everything has to be ordered though
so there is no instant gratification.
The thermostat housing was cleaned by me so it isn't as good
as the rest of the intake, but it's o.k.. I took it apart and put in new gaskets
from the top-end gasket kit. There are so many gaskets on this motor to be
replaced it's a challenge to remember them on during re-installation. The
thermostat housing was just one example. The intake manifold alone has a large
number of gaskets, some from the manifold, some from fuel injectors and other
attachments. Speaking of injectors, they should be coming soon after getting
cleaned and blueprinted/balanced by injector.com. All new copper nuts were used
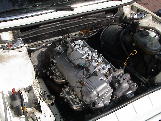
for the exhaust assemblies, as shown in the pictures.
I am also waiting on a coolant hose replacement kit from BMP
and new hose clamps. Then the project will start to see some real progress.
The starter went in the other day and was quite simple. I still need to pull
the harmonic balancer again before the radiator goes in to get the alternator
bracket in place.
She's coming together and the pace is quickening now since
summer is half over and I still want to drive her before the season ends! There
are still a few loose ends like the oil cooler lines, but things are getting
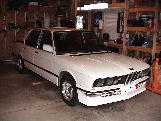
much closer now. I celebrated today's progress (driveshaft, exhaust) by wheeling
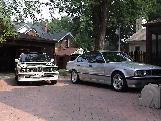
her out for some photos.
|
Thermostat housing freshly put in
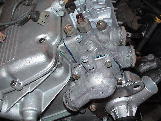
Thermostat housing mounted and intake manifold
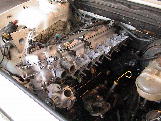
Exhaust hooked up to Jet-Hot coated manifolds
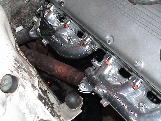
Shows how nice and new the front end parts are
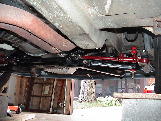
New copper hardware for exhaust
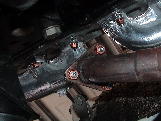
The M5 posing with its grandfather, wheeled out of the garage
Intake and exhaust
Just posing, getting close now
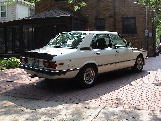
Rear quarter still needs to be sanded and painted
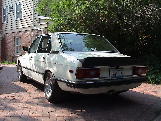
Hood remounted, after over a year!
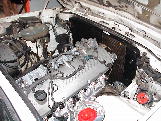
Brand new radiator in place
|